by Joe Yedowitz | Nov 22, 2013 | Lawn Tips, Seasonal Tips, Tips / Advice
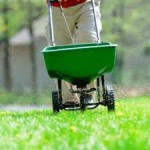
Yes, it’s getting chilly out there and YES It is time to apply your final application of fertilizer to your lawn! If you think it’s too cold to fertilize your lawn….think again. Here are the many benefits to a late fall, early winter fertilizer: The...

by Joe Yedowitz | May 31, 2013 | Gardens / Landscapes
One of the great things about gardening is that in some way your garden can take care of itself. Now, that’s not endorsing abandoning garden chores completely, but there are a few things that you can do to make your work a little easier. One of these things is to...
by Joe Yedowitz | Dec 7, 2012 | Decorative, Seasonal Tips
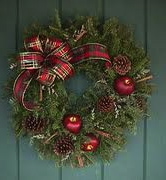
When it comes Holiday Wreaths there are many different variations that make beautiful, festive decorations. Depending upon what look you are searching for, just a few supplies are necessary to make a homemade, one of a kind wreath. Traditional Greens Wreath:...
by Joe Yedowitz | Nov 9, 2012 | Gardens / Landscapes, Seasonal Tips
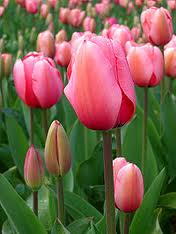
Who says you have to wait until spring for the colorful beauty of bulbs? Forcing bulbs to bloom indoors is a fun and easy way to brighten up your home’s interior over the colder months ahead. Bulbs such as tulips, daffodils, hyacinths and crocuses can all be brought...
by Joe Yedowitz | Nov 2, 2012 | Gardens / Landscapes, Irrigation, Lawn Tips, Seasonal Tips
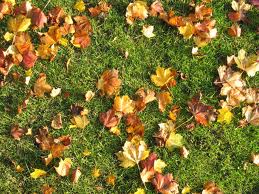
It’s about that time where all those beautiful leaves are resting on your lawn. Should you leave them there? No! It is important that leaves are raked up from your lawn in order to keep it healthy. If you do not, it is possible that mold can grow under those...