by Joe Yedowitz | Jun 2, 2020 | Seasonal Tips
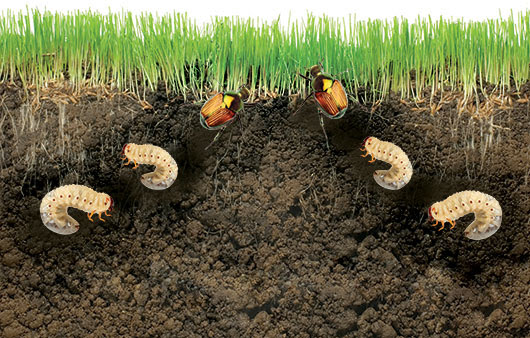
While many insects can be beneficial to your lawn, grubs are not one of them. Grubs are the larval (or worm) state of many types of beetles. The beetles lay their eggs in your lawn, and the newly hatched worms work their way through the thatch and into the soil. Grubs...
by Joe Yedowitz | Apr 16, 2020 | Decorative, Gardens / Landscapes, Seasonal Tips
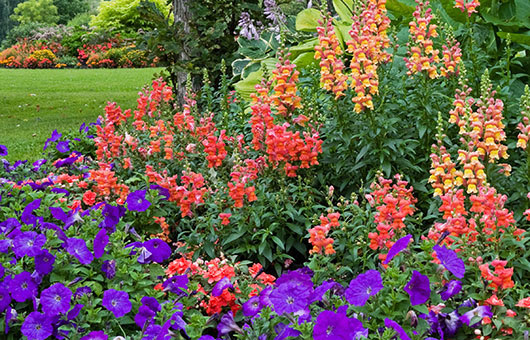
Floral displays ring in the growing season with life and color. Annual flowers are a good landscape investment because they’re versatile, colorful, quick to bloom and relatively inexpensive. These dependable single-season flowers hit the ground running and provide a...
by Joe Yedowitz | Mar 18, 2020 | Seasonal Tips
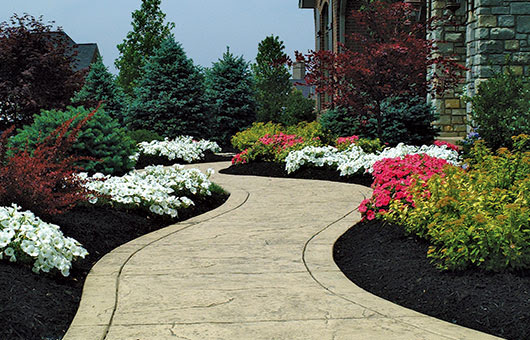
Mulch – most of us think of it as something there to make the ground look good. The consistent color and texture do improve the looks of your shrubs and flowers. In fact, dark- colored mulches even widen the pupil of the eye, making bright plants stand out even more....
by Joe Yedowitz | Mar 18, 2020 | Seasonal Tips
Spring is finally here! Before new growth fully kicks into high gear, it’s important to set the stage for the new growing season. Winter has a tendency of littering your flower beds with sticks, leftover fall leaves, and old growth from last season’s annuals....
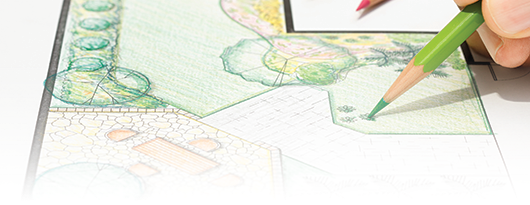
by Joe Yedowitz | Jan 16, 2020 | Irrigation, Seasonal Tips, Tips / Advice
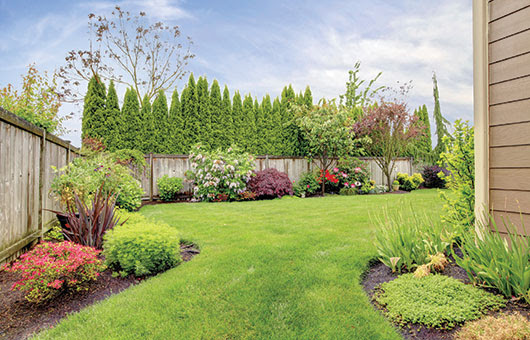
Landscape improvements can make a tremendous difference in the looks, usefulness and value of your home. While your lawn and landscape may not be the first thing on your mind this time of year, winter is a great time to plan future improvements. Landscapes consist of...
by Charlie Zegers | Nov 25, 2019 | Seasonal Tips
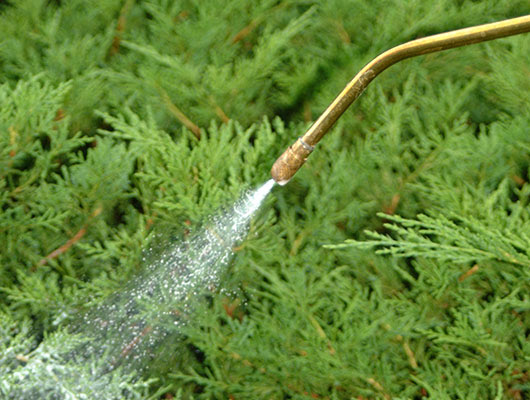
At its most severe, winter burn can cause serious damage to your evergreens. This condition comes about when dry winter winds pull moisture out of needles and leaves, causing them to turn brown and, in some cases, fall off. Treating your evergreens with antidesiccants...