by Joe Yedowitz | Apr 16, 2020 | Decorative, Gardens / Landscapes, Seasonal Tips
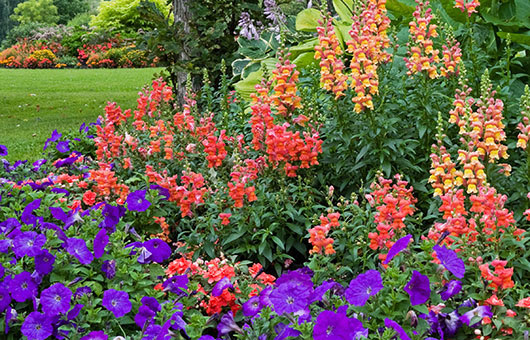
Floral displays ring in the growing season with life and color. Annual flowers are a good landscape investment because they’re versatile, colorful, quick to bloom and relatively inexpensive. These dependable single-season flowers hit the ground running and provide a...

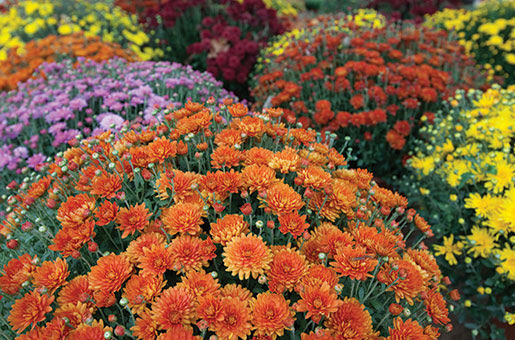
by Joe Yedowitz | Sep 6, 2019 | Decorative, Seasonal Tips
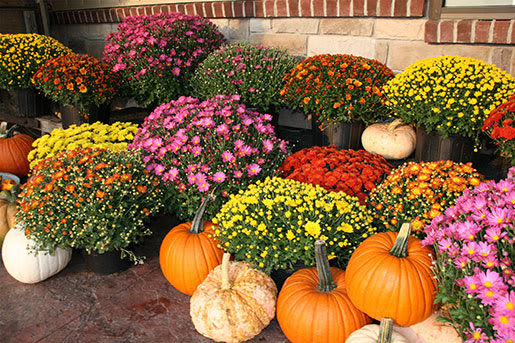
Chrysanthemums, better known as mums, will keep your garden alive with color through the end of the growing season. Drought-tolerant and resistant to insect pests and diseases, these popular flowers are one of the easiest perennials to grow. Given the wide array of...
by Joe Yedowitz | May 21, 2019 | Decorative, Gardens / Landscapes, Seasonal Tips, Tips / Advice
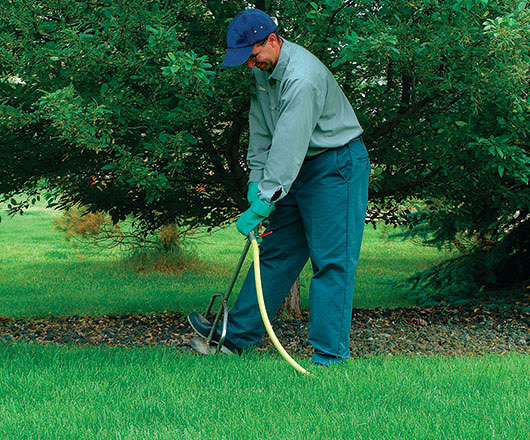
Your trees and other ornamental plants don’t need to be fed as often as your lawn, but don’t forget them completely. Over the last several years, we’ve had both too much water and too little at different times. We’ve also seen some severe temperatures. On small...
by Joe Yedowitz | Nov 28, 2018 | Decorative, Gardens / Landscapes, Seasonal Tips
Ever try planning a wedding or an extended vacation on a few days notice? Didn’t think so. The saying goes that if it wasn’t for the last minute, nothing would get done. In reality, procrastination rarely yields the best results. When it comes to your lawn...
by Joe Yedowitz | Sep 17, 2018 | Decorative, Gardens / Landscapes, Seasonal Tips
Chrysanthemums are fun and easy to grow, and they give your garden a colorful bonus after most annuals and perennials are finished for the season. TRY THEM THIS FALL Mums can take colder weather and, because they’re hardy, will show up year after year with a little...
by Joe Yedowitz | Aug 16, 2018 | Decorative, Gardens / Landscapes, Plant of the Month
Chrysanthemums, better known as mums, will keep your garden alive with color through the end of the growing season. Drought-tolerant and resistant to insect pests and diseases, these popular flowers are one of the easiest perennials to grow. Given the wide array of...